Framing tools must support long baselines, square assemblies, repeatable on-center marks, and safe cutting. Digital tools speed geometry and takeoffs; tapes, squares, chalk lines, lasers, and levels establish the real site references.
How to use this workflow
Set control lines first, verify square, mark from a consistent reference rather than chaining dimensions, and check the assembly before covering it. Save important calculations with the job name.
Why “framing tools” matters in the field
Jobsite calculations connect plans, real measurements, purchasable materials, and irreversible work. A reliable process keeps those stages separate: measure first, calculate with explicit units, translate the result into a field action, and verify before cutting, ordering, or pouring.
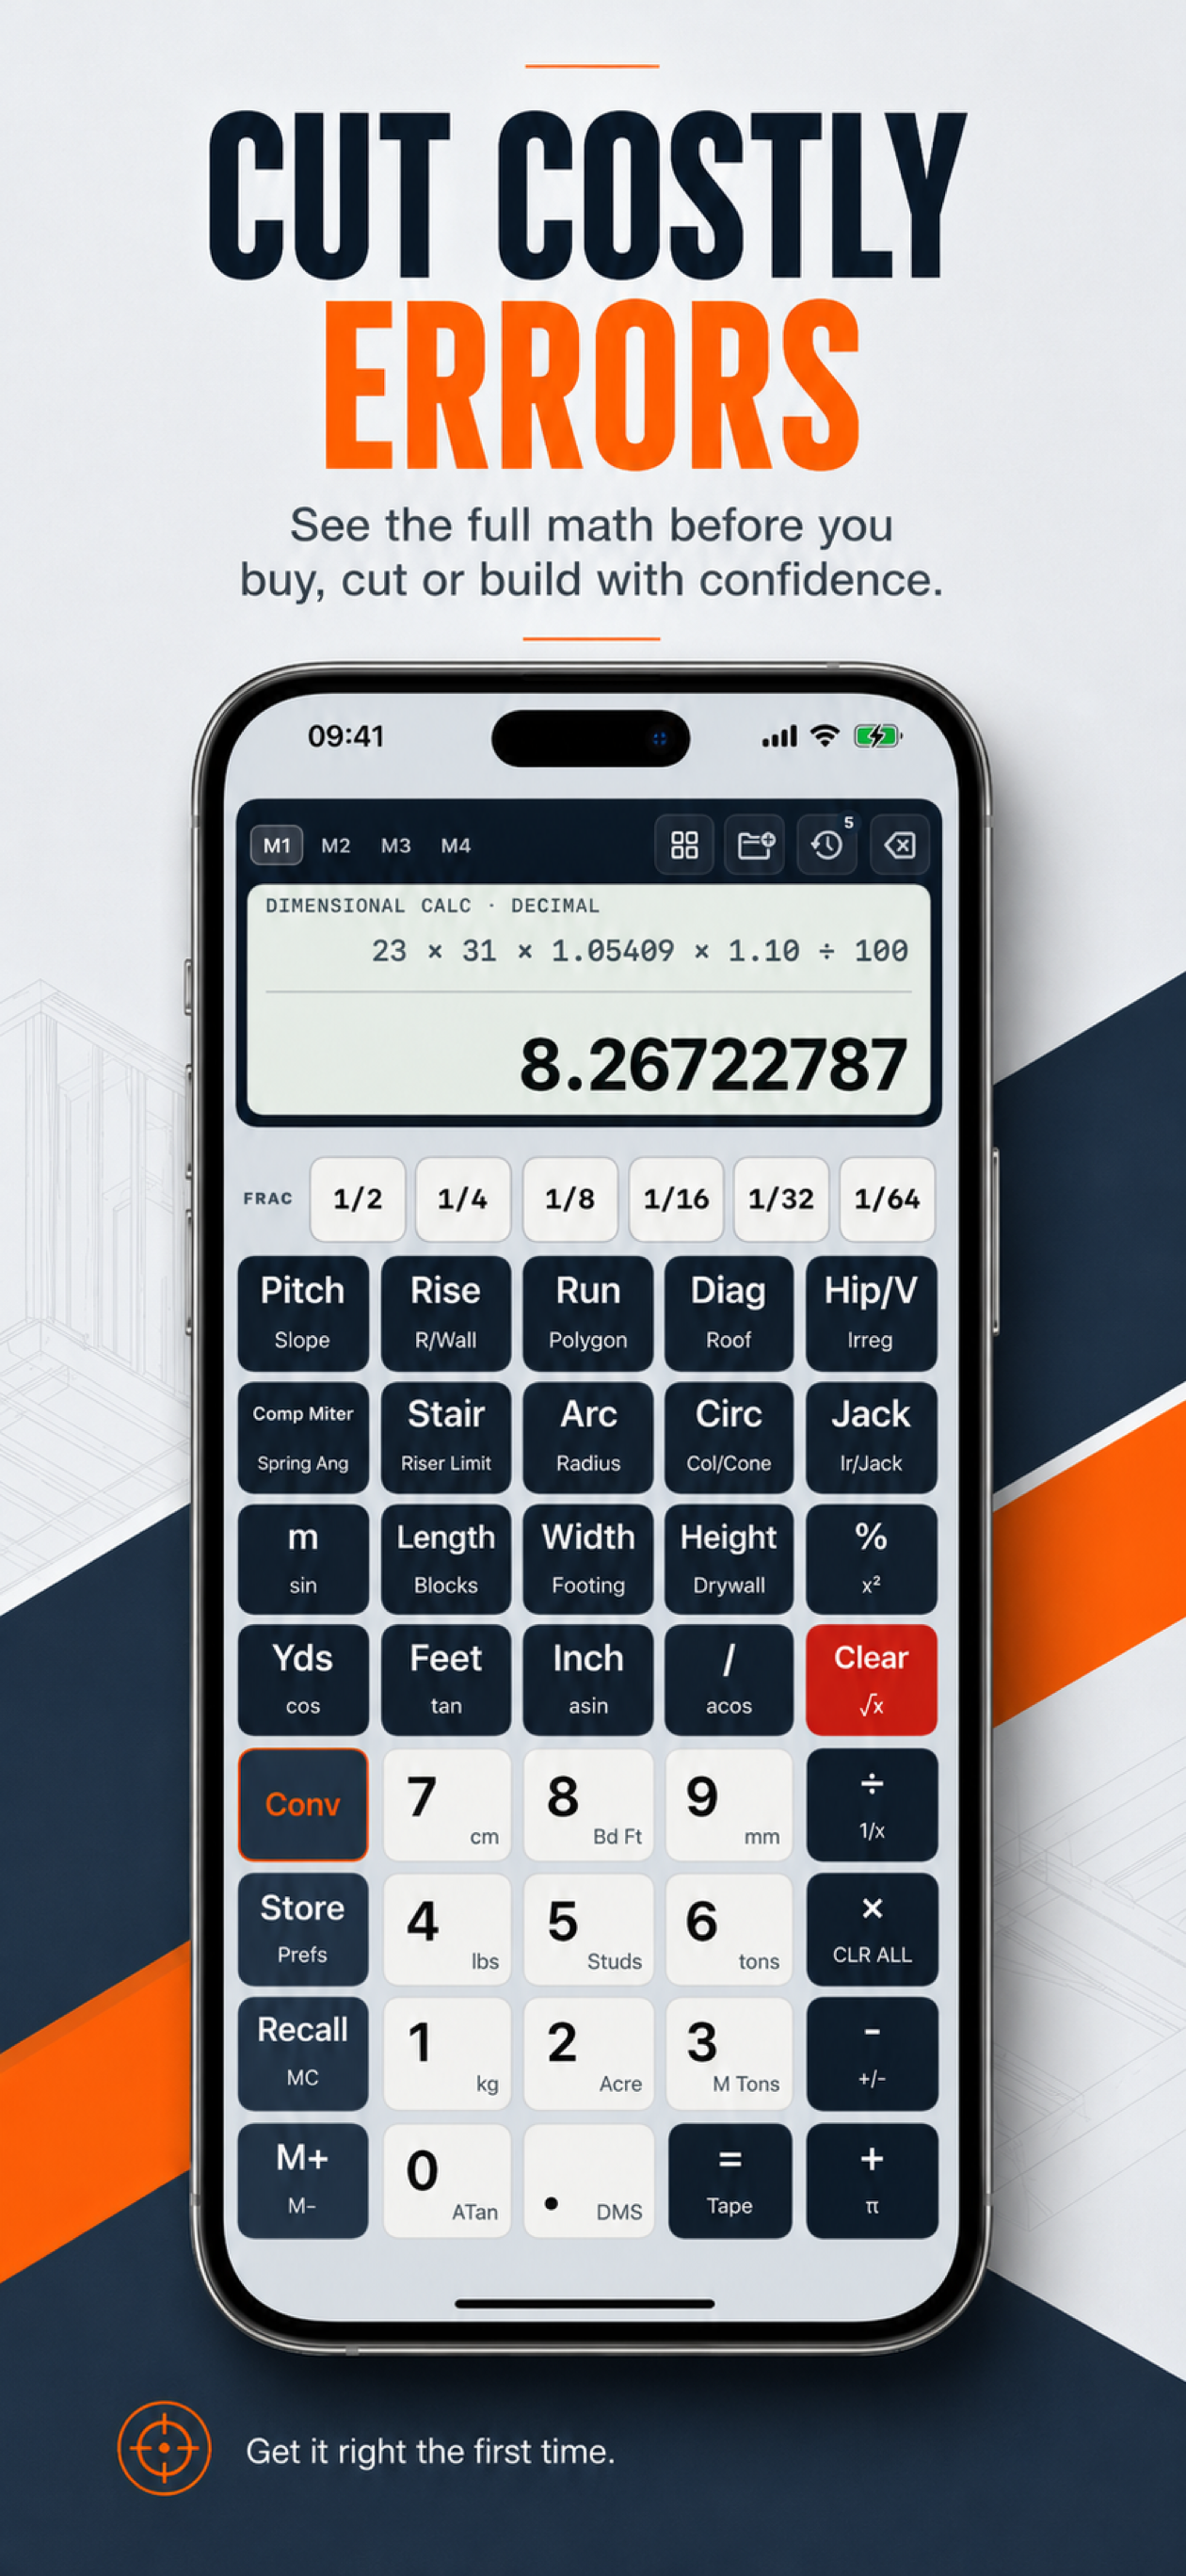
Framing tools must support long baselines, square assemblies, repeatable on-center marks, and safe cutting. Digital tools speed geometry and takeoffs; tapes, squares, chalk lines, lasers, and levels establish the real site references. Construction Pro is designed around that process with a five-column construction keypad, specialty calculators, selectable fraction precision, a paperless history tape, project folders, and Job Site Mode for brighter conditions.
A step-by-step method
- Define the output. Write down whether you need a length, area, volume, angle, spacing, or whole-material count.
- Measure and label every input. Distinguish feet, inches, decimal feet, and metric values. Use finished dimensions when the finished condition controls the work.
- Choose the matching calculator. Use the core keypad for measurement arithmetic and a specialty tool when geometry or material coverage has multiple inputs.
- Review the complete expression. Check signs, units, pitch convention, half-span versus full span, and whether waste is already included.
- Make the answer actionable. Convert it to a tape mark, cut angle, whole bag, sheet, bundle, or saved project note.
- Verify independently. Compare against a rough estimate, known formula, second measurement, or qualified plan before committing materials.
Worked field example
Use equal diagonals to check a rectangular wall frame, then verify stud layout from one end so small marking errors do not compound.
The example is a workflow illustration. Actual dimensions, product coverage, code limits, tolerances, and site conditions control the final decision. Keep supplier data and local requirements with the saved calculation.
Common mistakes to avoid
Chaining every mark from the previous one; treating a level surface as square; calculating from nominal dimensions without measuring the site.
A calculator can process the values entered, but it cannot know whether a tape slipped, the wrong roof plane was measured, a finish layer was omitted, or a drawing revision changed the work. The final field check remains essential.
When a mobile construction calculator helps
A mobile tool is especially helpful when you repeatedly switch between feet-inch-fraction arithmetic, roof and stair geometry, material takeoffs, and saved notes. It keeps familiar calculations on the device already carried to the site and makes it easier to preserve the expression behind a result.
Use technology from a safe position. Do not operate a phone while climbing, driving, handling a running tool, or working where attention must remain on fall, electrical, traffic, or equipment hazards. For structural, code, or permit decisions, follow approved documents and consult the responsible local professional.